In this post, will describe steps required to install Ubuntu64 virtual machine in Oracle VM Virtual Box. Most of the people may be aware of it so here I am just listing down the required steps.
Note that, here I am using Oracle VM Virtual Box 4.3.24 and installing Ubuntu 14.04.3 (64-bit) VM for demonstration.
- Open Oracle VM VirtualBox and select File –> New.
- Give name as Ubuntu64 or any meaningful name and select type as Linux and version as Ubuntu (64 bit).
- Click Next and use slider to select required RAM. We may want to select 1GB for better performance with min of 512 MB.
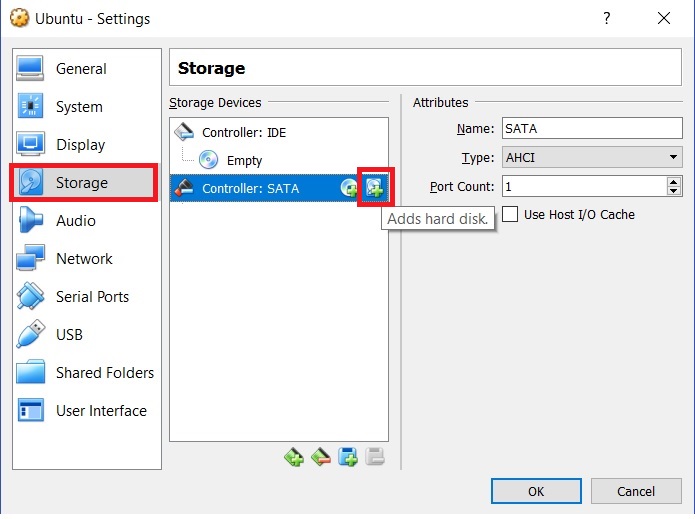
- Click Next. Choose the option Create a virtual hard drive now and click Create.
- Select hard drive type as VDI and click Next.
- Select Fixed or Dynamic option based on requirements and click Next.
- Give file name for virtual hard drive file and Click Create. Here you have the option to choose the required hard drive size. This will create new VM and will be shown in the Virtual Box Manager. Note that VM is not yet configured to use Ubuntu OS.
- To configure, start VM by selecting Machine –> Start and select startup disk file ubuntu-14.04.3-desktop-amd64.iso which we can download it from Ubuntu website.
- After selecting iso image click Start to initiate the Ubuntu OS creation.
- Select the language and click Install Ubuntu.
- Check Download updates while installing and click Continue.
- Choose the default option Erase disk and install Ubuntu and click Install now. Click Continue if you see any warning related to formatting disk.
- Select your location and click Continue.
- Select keyboard layout and click Continue.
- Provide details for Name, Computer’s Name and enter the required credentials for VM. and click Continue.
- Select Log in automatically if you do not want to enter a password each time you log in or select Require my password to log in. Click Continue.
- It will take a while for the installation of Ubuntu OS. Once that’s done, click Restart now for the changes to be effective.
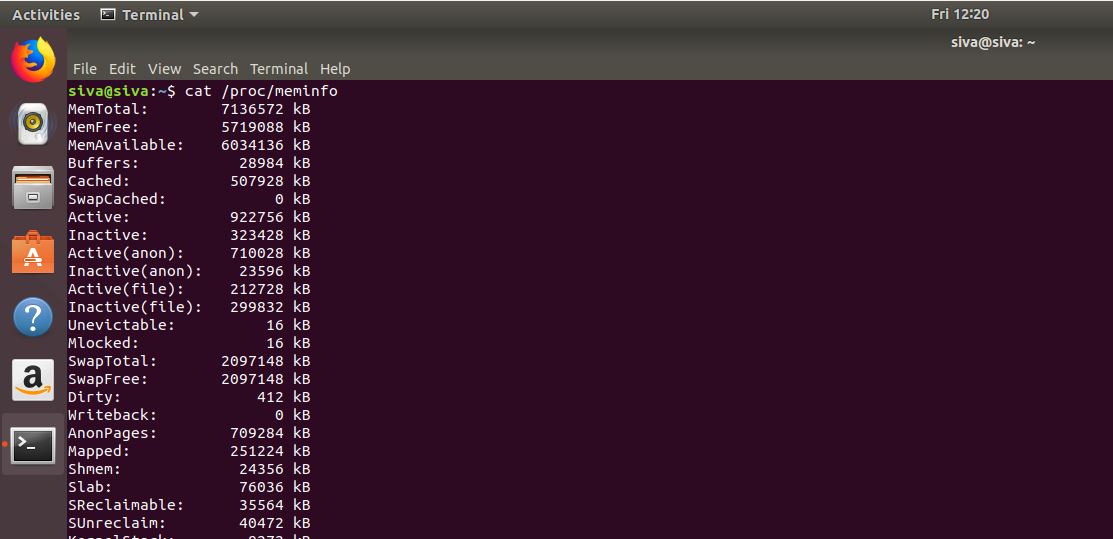
We can use any of these commands file /sbin/init or uname –i to make sure that 64-bit OS has been installed.
We can find the OS version using command lsb_release –a.
If you observe that VM is not shown in the full screen mode, then we have to install Virtual Box Guest Additions using steps mentioned below and use the admin password wherever it asks during installation.


Now restart the VM and now you would see the VM in full screen mode.
To access internet, make sure that you have following settings for adapter:


If you are behind proxy, you can set proxy by going to System Settings –> Network –> Network Proxy as shown below. Click Apply System Wide and give admin credentials if you are asked for authentication.

From command prompt, you can set using the following command:
export http_proxy=>:”>http://<<host>>:<<port>>
Doing SSH into VM from Host:
- First install SSH server using the command sudo apt-get install openssh-server.
- Setup a port forwarding in your VM settings as below and restart the VM. Navigate to VM->Settings->Network->Adapter 1-> Advanced->Port Forwarding.

- We can connect to this VM using winscp as shown below.